Ah, spring. Now is the perfect time to throw open the windows, listen to the birds sing, and delve into some seasonal cleaning—of the spinning equipment variety. (Let’s not get crazy . . .)
Central to any day of caring for your spinning tools is a basic wood balm or conditioner, which is not to be confused with any wood or wood-cleaning product containing sealant (often labeled as “polish”). A natural wood conditioner moisturises, and thereby enhances and protects, the appearance of the beautiful woods used in spinning wheels, spindles, kates, etc. By contrast, a sealant coats and seals off the top layers of wood. Sealed wood has a harder time accommodating the fluctuating changes in temperature and humidity in your home environment.
Condition your wooden spinning wheels and other tools at least yearly to prolong their life and to help stave off cracking, warping, splitting, and more. (The tools will have beautiful sheen, too, with no waxy buildup.)
All-natural wood balms and butters are available all over the internet, but if you’re like me, you’d rather spend that $15 on something else (fiber). Plus, this stuff is so incredibly simple to make at home for mere dollars that I thought I’d share my own process for making homemade spinning wheel/wood conditioner. (Bonus: The recipe makes enough to give a jar as a gift to a spinning pal.)
I like to stash these pots of balm throughout my home and use them them for pretty much everything: polishing cutting boards and other wooden utensils and also to dab on my lips, hands, and elbows as needed. While I am neither a chemist nor a dermatologist, I do have outrageously sensitive skin and can attest to the fact that this natural product is as safe as the ingredients you put into it.
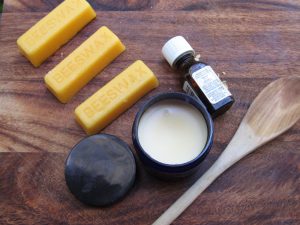
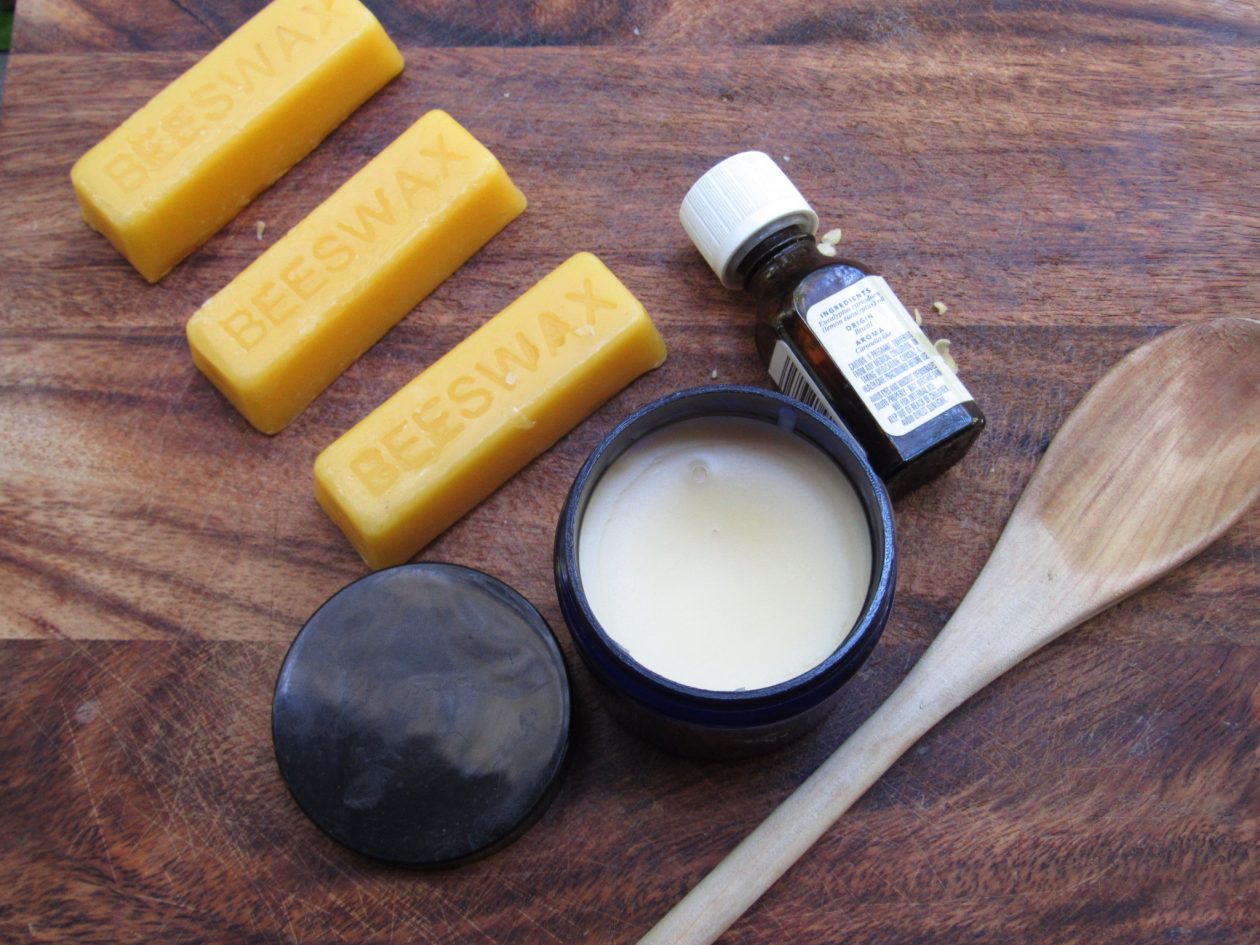
Ingredients for DIY Spinning Wheel Conditioner
- Beeswax (I buy a few ounces of filtered. high-quality, cosmetic grade, from Amazon.)
- Olive oil (Coconut oil and/or a mix of olive and coconut oils may be used. Nut oils go rancid over time, so these are not optimal.)
- Essential oil(s) (These are completely optional, but they add a delightful dash of fragrance.)
- Small plastic jars, previously used candle or candy tins, small glass mason jars, or other containers in which to store your wood balmI’m also not all that particular about measurements, but I know that I prefer the viscosity of using a 3:1 ratio of oil to beeswax. Start with 1 ounce of beeswax and 3 ounces of oil to see how you like your first batch of natural spinning wheel conditioner. If the consistency feels too firm for your liking, you can increase to a 4:1 oil to wax ratio.
I’m also not all that particular about measurements, but I know that I prefer the viscosity of using a 3:1 ratio of oil to beeswax. Start with 1 ounce of beeswax and 3 ounces of oil to see how you like your first batch of natural spinning wheel conditioner. If the consistency feels too firm for your liking, you can increase to a 4:1 oil to wax ratio.

Homemade Spinning Wheel Wax Directions
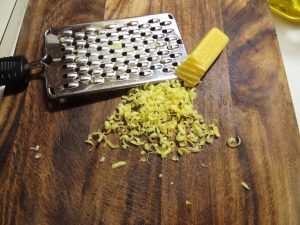
- Grate the beeswax so that it will melt evenly and break down enough to bond with the oil. (Tip: Try grating over a large piece of wax paper, creased down the middle, to help corral flying wax shards. When you’re finished, you can just up the paper and pour.)
- Place a large glass jar or even a glass measuring cup inside a pot of water to make a double boiler; start the heat (low–medium).
- Carefully add the grated wax and three times its volume in oil into your glass cooking vessel. (Do not add fragrance yet, or you risk creating scratchy granules in your end product.)
- Stirring constantly with a wooden spoon and being careful not to get any water inside the glass, allow the ingredients to slowly melt, then to meld to together into one liquid. Do not walk away.
- Once the two ingredients have fused into one, carefully remove the glass jar from its hot water bath, then add several drops of your preferred essential oil (optional).
- Working quickly, pour off into tins or small jars, then allow to cool completely.
For added fun, create some labels!
To use: gently rub a bit of conditioning butter onto your wood items. Let sit for at least 15 minutes, then buff off with a gentle cloth.
